How to set up a new Next.js project?
Next.js is swiftly becoming the go-to framework for modern web development, offering a blend of server-side rendering, static site generation, and client-side functionalities. Whether you're a seasoned developer or just starting, setting up a new Next.js project can significantly enhance your web development endeavors. This guide aims to walk you through the process, from understanding why Next.js might be the right choice for your project to deploying your application.
The Next.js
Next.js is a React-based framework that enables developers to build server-rendered React applications with ease. It's designed to optimize your development experience and your application's performance, making it a powerful tool for building highly interactive and dynamic user interfaces. At its core, Next.js simplifies complex aspects of web development, such as routing, data fetching, and SEO optimization, by providing a standardized way to build web applications.
One of the most appealing aspects of Next.js is its hybrid static & server rendering features. This flexibility allows you to pre-render pages at build time (Static Generation) or request time (Server-side Rendering), depending on your application's needs. This adaptability makes Next.js a versatile framework capable of handling projects of all sizes, from small landing pages to large-scale enterprise applications.
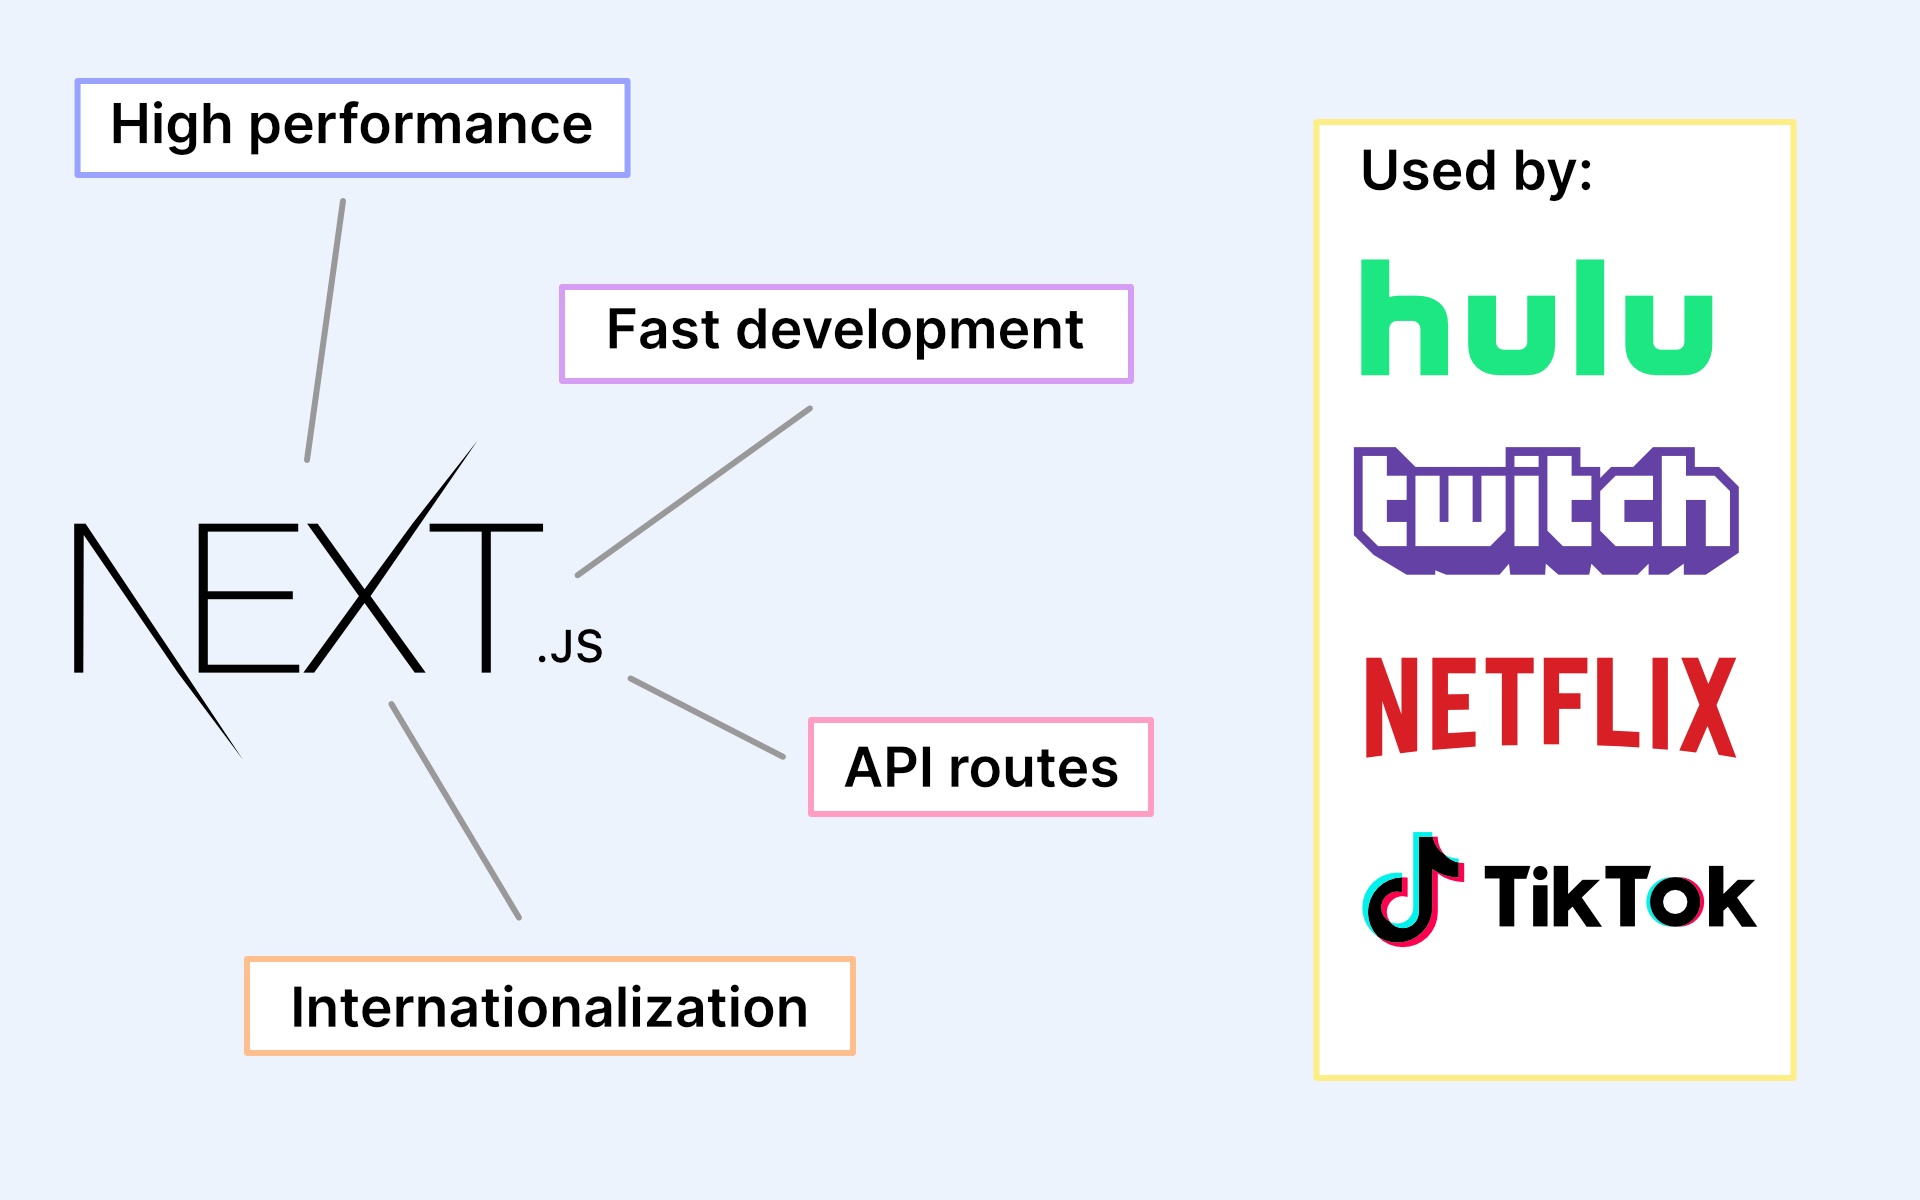
Moreover, Next.js comes with out-of-the-box features such as automatic code splitting, optimized image loading, and comprehensive API routes support. These features not only speed up the development process but also enhance the performance and scalability of your applications. With such robust capabilities, it's no wonder that Next.js has gained popularity among developers worldwide.
Why Choose Next.js for Your Project?
When it comes to choosing a framework for your web project, there are several factors to consider. Next.js stands out for many reasons, making it a compelling choice for developers looking to build efficient, scalable, and highly performant web applications.
Firstly, Next.js's server-side rendering capabilities ensure faster page loads, significantly improving the user experience. This is crucial for retaining users and improving search engine rankings, as page load time is a key factor in SEO performance. By rendering content on the server, Next.js applications can serve fully rendered pages to the browser, reducing the time it takes for users to see the initial content.
Secondly, Next.js offers an intuitive file-based routing system. This means that you can set up pages and routes by simply adding files to the pages directory. This convention over configuration approach simplifies the development process, making it easier to manage and scale your application's routing architecture.
Lastly, the rich ecosystem and community support surrounding Next.js provide an extensive array of plugins, tools, and resources that can help enhance your development workflow. Whether you need to add internationalization, enable analytics, or integrate with a CMS, there's likely a Next.js plugin or guide available to help you achieve your goals efficiently.
Prerequisites
Before you begin, ensure that you have Node.js installed on your system. You can download and install Node.js from the official website. Next.js requires Node.js version 10.13 or later.
Setting Up a New Next.js Project
Embarking on a new Next.js project begins with setting up your development environment. This initial setup is straightforward, thanks to the create-next-app CLI tool that automates the process of creating a new Next.js application.
To start, ensure you have Node.js installed on your system, as Next.js requires it to run. You can download Node.js from the official website or use a version manager like nvm to install it. Once Node.js is set up, open your terminal and run the following command to create a new Next.js project:
Initialize a New Next.js Project
To create a new Next.js project, open your terminal and run the following command:
npx create-next-app my-next-project
Replace my-next-project with the name of your project.
This command will create a new directory with the specified name (my-next-project) and initialize a new Next.js project inside it.
Navigate to the Project Directory
Once the project is created, navigate into the project directory:
cd my-next-project
Start the Development Server
To start the development server and see your Next.js application in action, run the following command:
npm run dev
This command will start the development server and open your default web browser, displaying your Next.js application running locally.
This will start the Next.js development server on http://localhost:3000. You can now open your browser to this address and see your new Next.js project running.
Explore the Project Structure
Next.js projects have a specific folder structure that helps organize your code. Here's a brief overview of the main folders and files:
- pages: This folder contains your application's routes. Each file in this folder represents a different route in your application.
- public: You can store static assets like images, fonts, and favicon.ico in this folder.
- styles: This folder can hold your global CSS files.
- components: You can create reusable React components in this folder.
Feel free to explore and modify these folders and files according to your project's requirements.

Installing and Configuring Next.js
While the create-next-app CLI sets up a functional Next.js project out of the box, there are configurations and customizations you might need to tailor the project to your needs. Next.js offers a next.config.js file where you can customize various aspects of your application, such as enabling TypeScript support, customizing the build output, or configuring environment variables.
To add custom configuration, create a next.config.js file at the root of your project if it doesn't already exist, and export an object with your configurations:
module.exports = {
  reactStrictMode: true,
  images: {
    domains: ["example.com"],
  },
  // other configurations
};
For instance, the reactStrictMode option enables React's Strict Mode, which is a helpful tool for detecting potential problems in an application. Similarly, the images configuration allows you to define external domains from which your application can load images.
Create Your First Page
Next.js follows a file-based routing system, which means that each file inside the pages directory represents a route in your application. Let's create a simple home page:
Inside the pages directory, create a new file called index.js and add the following code:
function Home() {
  return (
    <div>
      <h1>Welcome to my Next.js project!</h1>
    </div>
  );
}

export default Home;
Save the file, and Next.js will automatically detect the changes and update your application in the browser.
Creating Pages and Routes in Next.js
In Next.js, pages are React components exported from files within the pages directory. The file system is the main API for routing, meaning the file structure within the pages directory directly correlates to the routes of your application.
Creating a new page is as simple as adding a new file under the pages directory. For example, adding about.js will automatically create a route to /about. This file should export a default React component that renders the content of the page:
export default function About() {
  return <div>About Us</div>;
}
Dynamic routing can be achieved by using square brackets to wrap the dynamic segment of the file name. For example, [id].js would match routes like /posts/1 or /posts/abc, where id can be accessed as a query parameter within your page component.
Styling Your Next.js Project
Next.js supports various styling options, from traditional CSS files to CSS-in-JS libraries like styled-components. To use global CSS styles, you can import a CSS file within _app.js, which is the main entry point for all pages:
import "../styles/globals.css";

function MyApp({ Component, pageProps }) {
  return <Component {...pageProps} />;
}

export default MyApp;
For component-level styles, Next.js supports CSS Modules out of the box. CSS Modules allow you to write CSS code in a modular way, ensuring that styles are scoped locally by default and do not conflict across your application.
Managing Data in Next.js
Next.js provides several data fetching methods to suit different rendering strategies. For static generation, getStaticProps allows you to fetch data at build time. For server-side rendering, getServerSideProps fetches data on each request. Additionally, getStaticPaths is used for dynamic routes to pre-render pages based on dynamic paths.
These functions are asynchronous and allow you to fetch data from any source, such as APIs, databases, or file systems, and pass this data as props to your React components. This approach decouples data fetching from UI rendering, enabling more efficient and flexible development workflows.
Build and Deploy Your Next.js Application
Deploying a Next.js project is straightforward, thanks to Vercel, the platform created by the same team behind Next.js. Vercel offers a seamless deployment experience for Next.js applications, providing features like automatic HTTPS, global CDN, and serverless functions.
To deploy your Next.js project on Vercel, you can link your GitHub, GitLab, or Bitbucket repository to Vercel and configure it to deploy your project automatically upon each git push. Alternatively, you can use the Vercel CLI to manually deploy your project.
When you're ready to deploy your Next.js application, you can build it using the following command:
npm run build
This command will create an optimized production build of your application.
To run your application in production mode, use the following command:
npm start
Your Next.js application is now ready for deployment to platforms like Vercel, Netlify, or your own server.
Next.js vs Other Frameworks
When comparing Next.js to other frameworks, it's important to consider the specific needs of your project. Next.js shines in scenarios where server-side rendering or static site generation is beneficial, offering excellent performance and SEO advantages. However, for projects that do not require server-rendered pages, client-side frameworks like Create React App may suffice.
Frameworks such as Gatsby also offer static site generation with React, focusing more on static content-driven websites. Meanwhile, Next.js provides more flexibility in rendering strategies, making it suitable for a wider range of applications, from static sites to full-fledged web applications.
Frequently Asked Questions (FAQ)
Next.js is a React framework that enables server-side rendering, automatic code splitting, route pre-fetching, and many other features, making it easier to build React applications.
Next.js simplifies the development process for React applications by providing built-in features like server-side rendering, automatic code splitting, and easy routing, allowing you to focus more on building your application rather than configuring the setup.
You can create a new Next.js project using the following command:
npx create-next-app my-next-project
Replace my-next-project with your desired project name.
- pages: Contains your application's routes. Each file represents a different route.
- public: Stores static assets like images and fonts.
- styles: Holds global CSS files.
- components: Contains reusable React components.
Navigate to your project directory and run:
npm run dev
Or if you're using yarn:
yarn dev
This will start the development server and open your default web browser to display your Next.js application running locally.
You can create new pages by adding files to the pages directory. Each file represents a different route in your application.
Yes, you can use custom server code with Next.js. Create a file named server.js in the root directory of your project and use frameworks like Express.js to define custom server logic.
To build your application, run:
npm run build
Or with yarn:
yarn build
To run your application in production mode, use:
npm start
Or with yarn:
yarn start
Your Next.js application is now ready for deployment to platforms like Vercel, Netlify, or your own server.
Yes, Next.js works well with other libraries and frameworks. You can integrate it with Tailwind CSS, TypeScript, GraphQL, and many other tools and technologies.
You can find comprehensive documentation and tutorials on the Next.js website and community forums. Additionally, online learning platforms like Udemy and Pluralsight offer courses on Next.js.
Conclusion
Next.js offers a robust solution for developing fast and scalable web applications with React. By understanding how to set up, configure, and deploy a Next.js project, you're well-equipped to take advantage of the framework's features to build dynamic, high-performance web applications. Whether you're building a small project or a large-scale application, Next.js provides the tools and flexibility needed to deliver exceptional user experiences.


